
Woo hoo, this is the last catchup post about updating our dream house! So like most of the world, when the COVID-19 lockdowns hit, my husband and I found ourselves with extra time on our hands. We had just been informed that he would be working from home for two weeks. To me, that seemed like the perfect opportunity to try our hand at remodeling the upstairs bathroom! [Narrator: little did they know, 10 months later her husband would still be working from home.]
At the beginning of February, we had a meeting with our financial advisor to discuss goals for the year and plan out house updates over the next three years. “Renovating upstairs bathrooms” was slated for 2023. As I have always been one who likes to be first and do things quickly, I saw this not only as an opportunity but a challenge! I have watched enough HGTV to have a pretty good idea of how to do it, and John is very handy, although a complete novice when it came to laying tile. But I was positive this was something “we” could together!
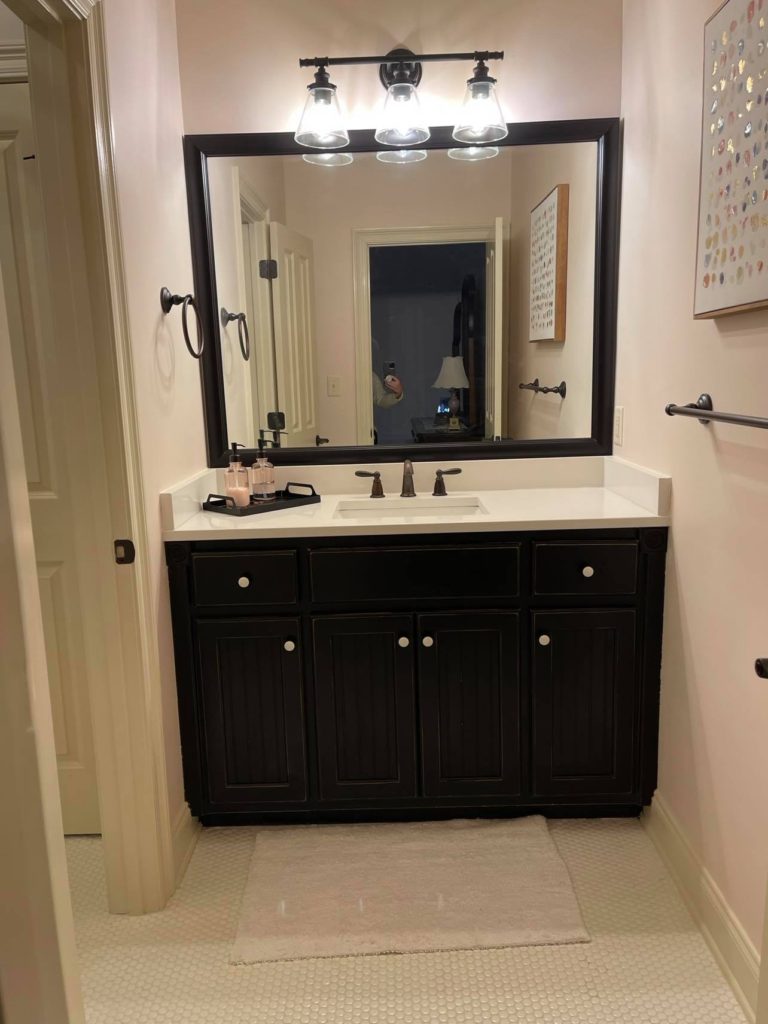
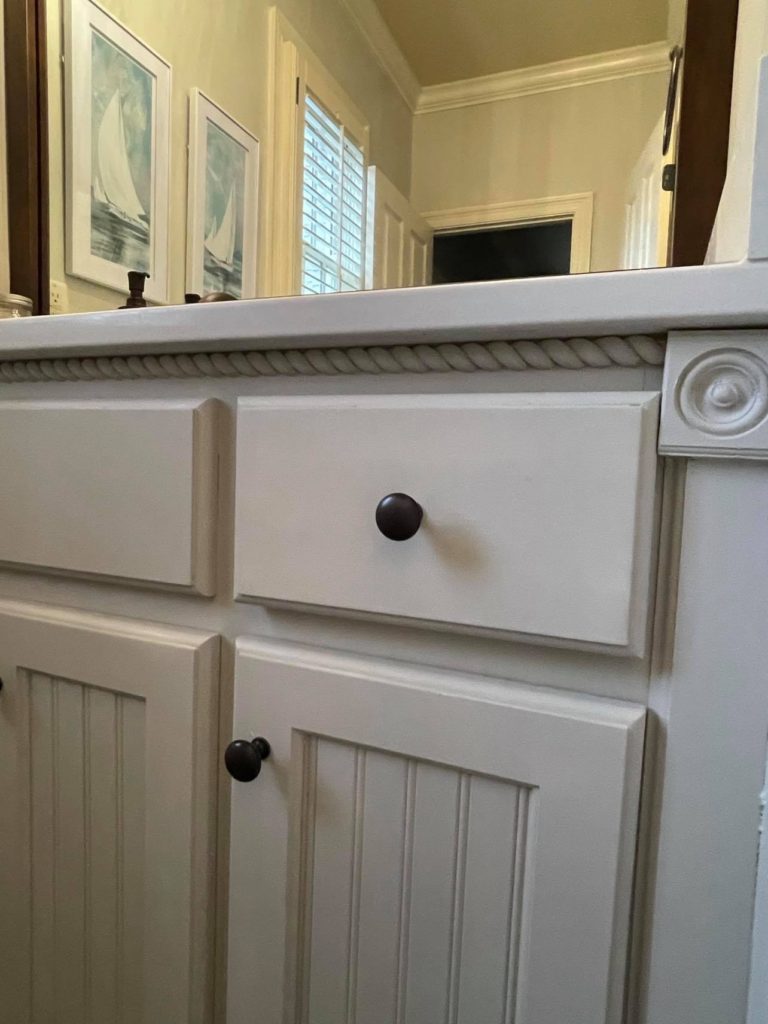
We have two bathrooms upstairs that service 4 bedrooms – both are set up as Jack-and-Jills. The guestroom side had dark, traditional-style cabinets, and the kid’s side has white, beadboard-style cabinets. Both had tile countertops and tile floors, just different colors. We decided to start with the guestroom side since obviously, we were not expecting guests any time soon. After referring to Pinterest once again for inspiration, I came up with a plan on how to transform the bathroom.
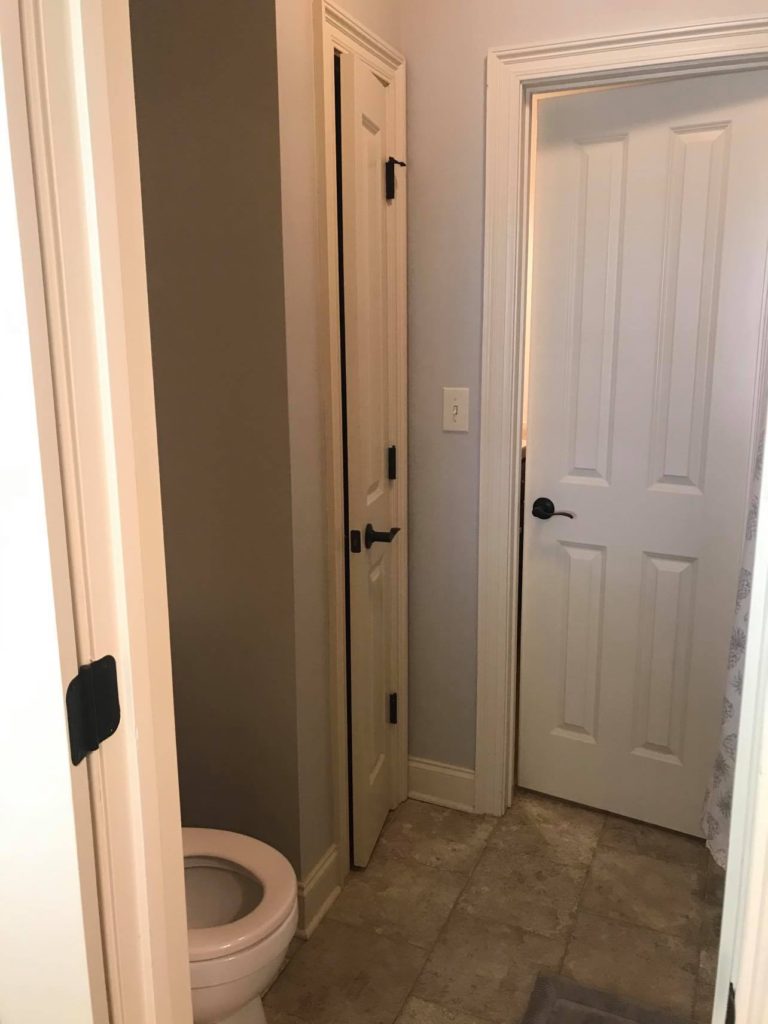
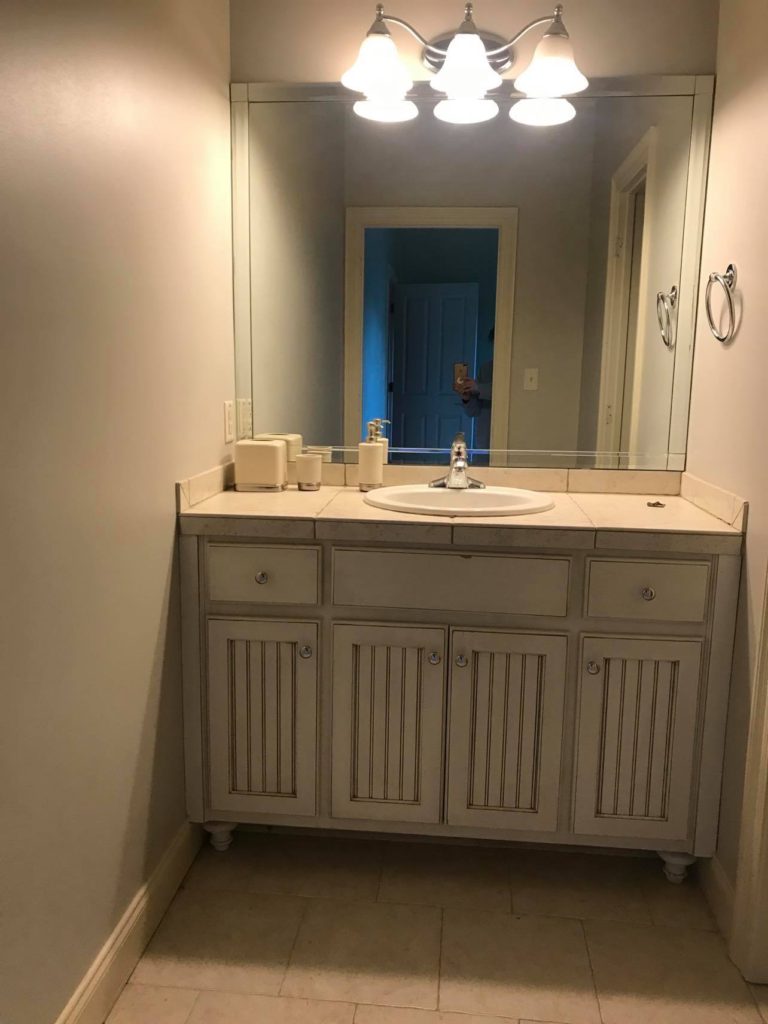
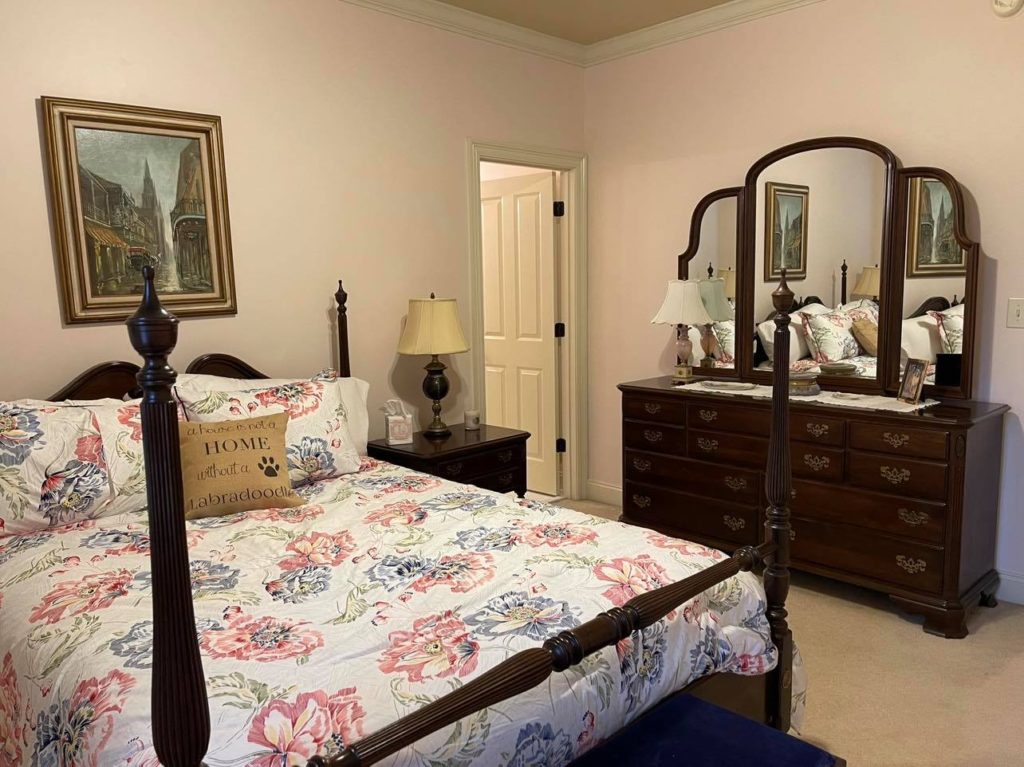
Guestroom Bath Before Pics:

Kid’s Bath Before Pics:

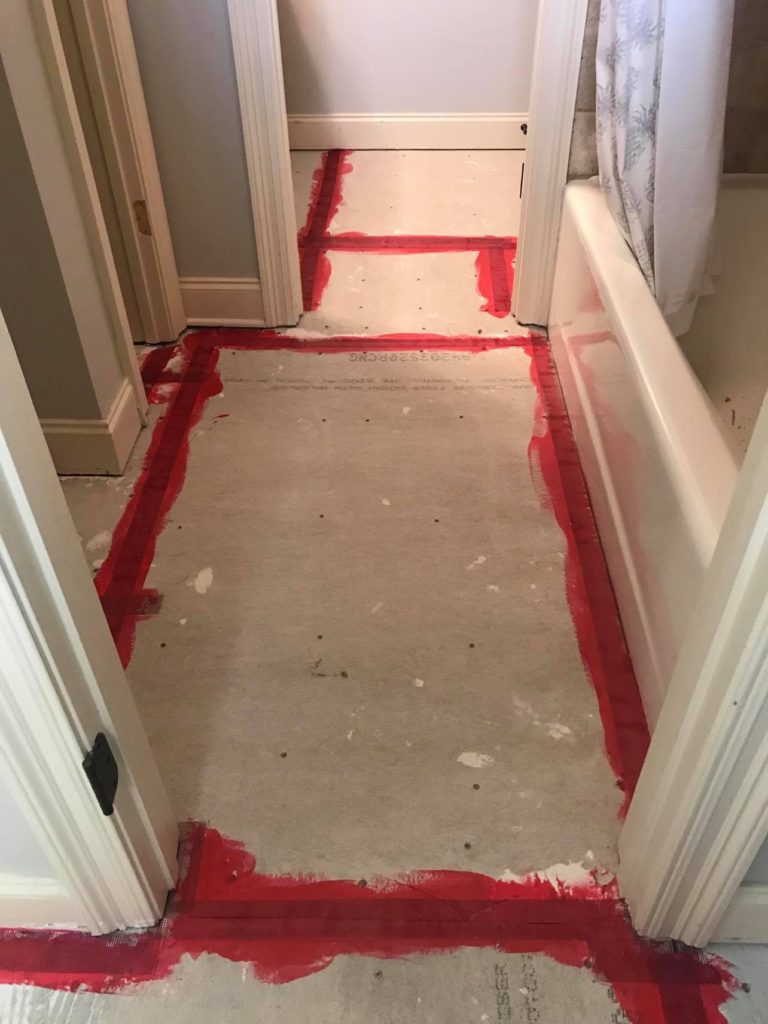
The first thing that had to go was the tile floor. I had no idea how much work this was going to be! It was really backbreaking work! John did a great job breaking it up and I had to carry all the debris down two flights of stairs. I have a newfound appreciation for Andy Dufresne carrying handfuls of dirt out of his cell, one-by-one!

After clearing the floor, we learned about purchasing cement board and waterproofing the floor… still a lot of prep work before even getting to the tile installation phase! I think this where the lesson, measure twice (or three times), cut once really came to light because there was a lot of trial and error and a LOT of flights of stairs involved in figuring it all out!
I really thought I was going to be more help on this project than I actually was. The space was small and it ended up being easier for John to just lay the tile himself. So… because I hate feeling unhelpful, I decided that we should also paint both of the bedrooms on either side of the bath to give the whole space a fresh look! [John promised (more like threatened) that he was not going pick up a paintbrush. But don’t worry, in the end, he did! ha!] So one guestroom we call the “New Orleans room” because it has my grandparent’s bedroom suite that they had when they lived in NOLA for 30 years along with paintings of the cathedral and the French Quarter. The bedding is a white and floral duvet by Ralph Lauren. I have known from the beginning that I wanted to paint this the same color that I used in my kitchen in Mountain Brook. It is Benjamin Moore Intimate White which has a soft pink undertone. (Note: if you paint over a wall that is already covered in Agreeable Grey, it will look way more pink!)

On the other side of the bathroom is what we affectionally call the “Blue Room” because…. it’s blue! I actually decided to repaint the walls Agreeable Grey (the existing color) and repaint the trim so that it would like nice and clean. The furniture in there is a little more of a mix and match. The bed is the one that I had in my house before we got married. So I decided to order new bedding that was blue and grey to go with the beachier vibe. I found a great mirror on Amazon to fill one of the walls (but still need like a chaise or something underneath it). We love our Samsung Frame TV so much that we decided to get one for in here as well and I had this white console table from eons ago and works in here for now… someday I would like to replace it with something of nicer quality. Lastly, we installed floating lamps for the bedside. I am STILL looking for the right tables or even a shelf but have yet to find anything that I like. It’s a very narrow space and most tables will not fit. I tried making floating shelves but that didn’t work out either. If you have a suggestion, please send it my way!! (cannot be more that 16″ wide)


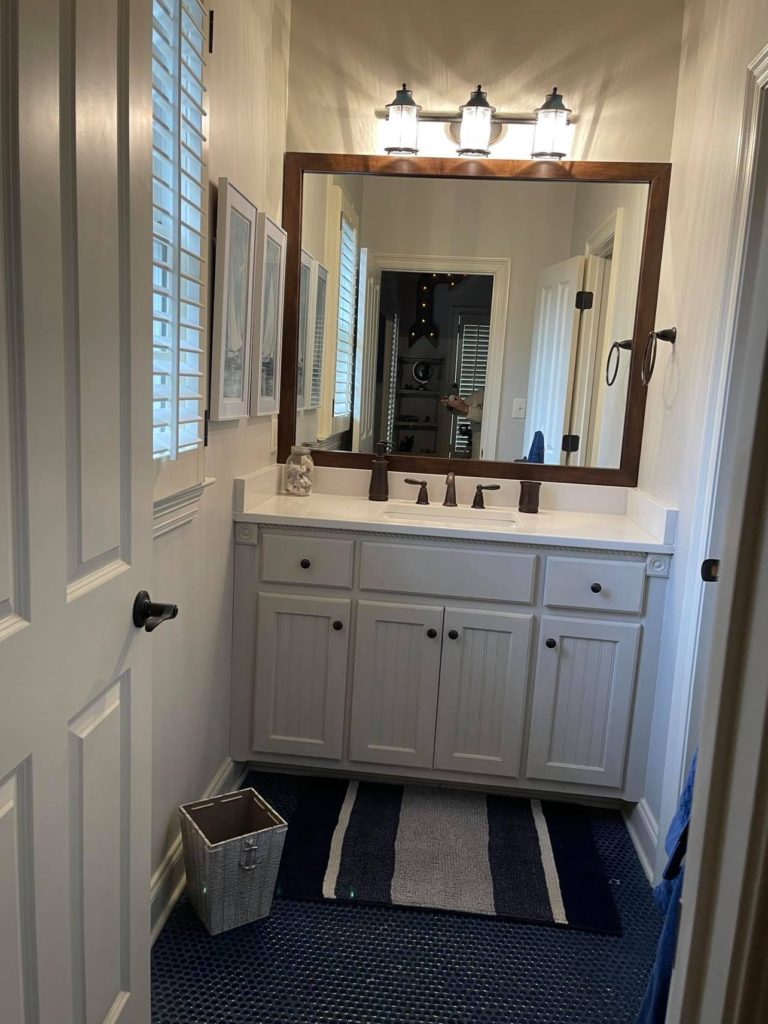
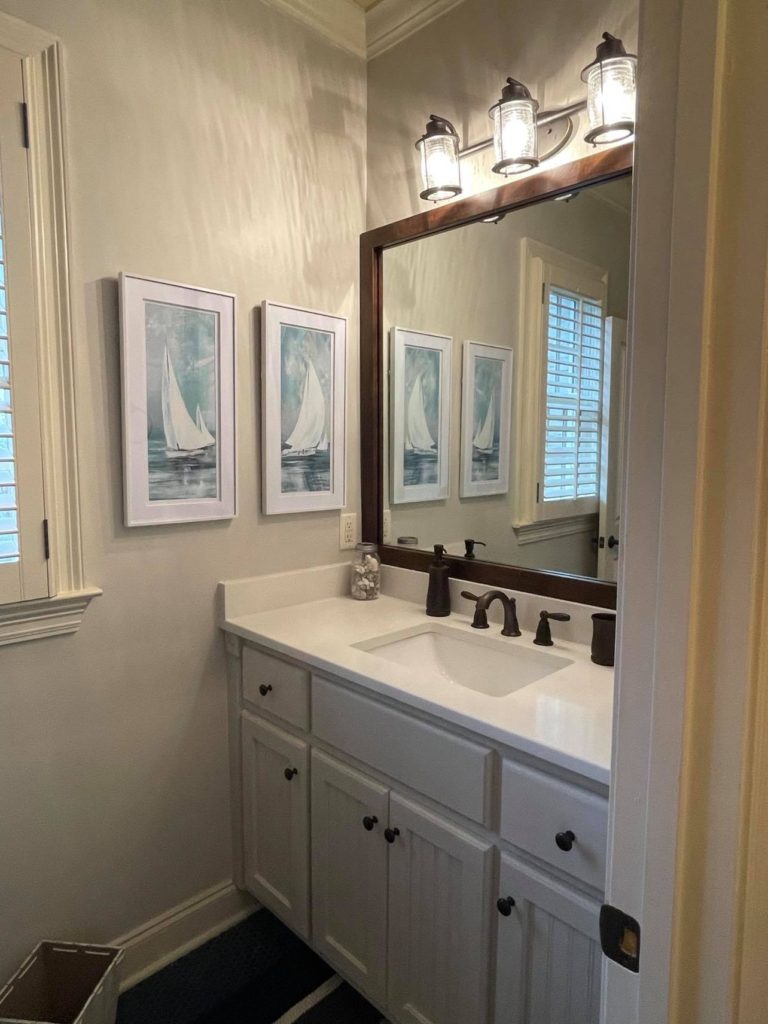
Ok sorry, I got sidetracked from the bathroom! So John installed the white penny tile with the white grout all by himself! We flirted with the idea of doing grey grout but being first-time tilers we thought white on white would hide any imperfections. After the floor we had the tile countertops replaced with white quartz, new sinks, faucets, light fixtures, and commode. The last piece we did was remove the beveled mirror frame around the mirror. Popping it off was not bad. Getting the sticky residue off was awful! The internet recommended using WD-40 which got the stuff off like a charm. BUT getting WD-40 off the mirror was a whole other issue. And no, dawn did not cut the grease. It was a pain and honestly, if you look real closely you can still see some on there! These mirrors are large and fixed to the drywall. As much as I would have loved to removed them, I knew that we would then be patching drywall and this already big undertaking would become even more of an issue so I found this company online that does custom frames for just this occasion! It’s called Mirror Mate and I really love how they turned out. Super easy to put together and install, shipped really fast, and lots of options. HIGHLY recommend! And here you have the finished product!


To my greatest surprise, when we finally finished this bathroom, my husband, on his own, offered to do the other bathroom upstairs. I was shocked! But was also not going to question his sanity and immediately said yes! I wanted there to be continuity with the two baths but also not to be completely identical. It was very apparent after putting in the white penny tile and grout that that would be a terrible idea for a kids’ bathroom! So naturally, I went with blue penny tile. The grout was such a pain to figure out. I again did not want to use a highly contrasting color because of flaws and as we learned from the first bathroom, it’s not the easiest tile to work with. So we decided to go monochromatic again and do blue-on-blue. However, getting the right shade of blue was a huge pain and a lot of trial and error to get the right shade and then also consistency.
Right now only 2/3s of the Jack-and-Jill bath is being used by Drake. The other vanity side is for the “someday nursery” or some other purpose. But because my intention is that it will someday be a nursery, I had to make sure I had in my head how I would decorate a nursery for a little girl that would go with the navy blue tile floor. Don’t worry, I figured it out 🙂
And so, this is how it all came out with Drake’s 2/3s!
So not only did I not have to wait until 2023 to get new bathrooms, but we also saved a lot of money doing it ourselves. I had originally budgeted $20K for this project but by doing it ourselves, we saved a lot of money and got it done for about $8K (that includes the Frame TV, mom)! And not only that, but we learned a LOT in the process and had fun… well, maybe the fun was recognized once it was complete! haha